
Steps to Sign Up as a Rideshare Rider - Your Ultimate Rideshare Rider Registration Guide
Getting started with ridesharing is easier than you think. You want quick, reliable rides at your fingertips. You want to avoid the hassle of parking, traffic, and expensive taxis. Signing up as a rideshare rider is your first step to unlocking all these benefits. I’m here to walk you through the process with confidence and clarity. Let’s dive in.
Why You Need This Rideshare Rider Registration Guide
Ridesharing is booming. But jumping in without knowing the ropes can slow you down. This guide breaks down every step you need to take to become a rideshare rider. No fluff. No confusion. Just clear, actionable steps. Whether you’re tech-savvy or a beginner, you’ll find this guide easy to follow.
Signing up means you get access to a network of drivers ready to take you anywhere. It means convenience, safety, and control over your travel. And it means you’re part of a movement pushing for transparency and fairness in the rideshare world. That’s powerful.
Step 1: Choose Your Rideshare App
First things first - pick the app that fits your needs. There are many rideshare platforms out there. Each has its perks, but the signup process is similar across the board.
Download the app from your phone’s app store.
Make sure it’s the official app to avoid scams.
Check if the app operates in your city or region.
Once you have the app, open it and get ready to create your account.
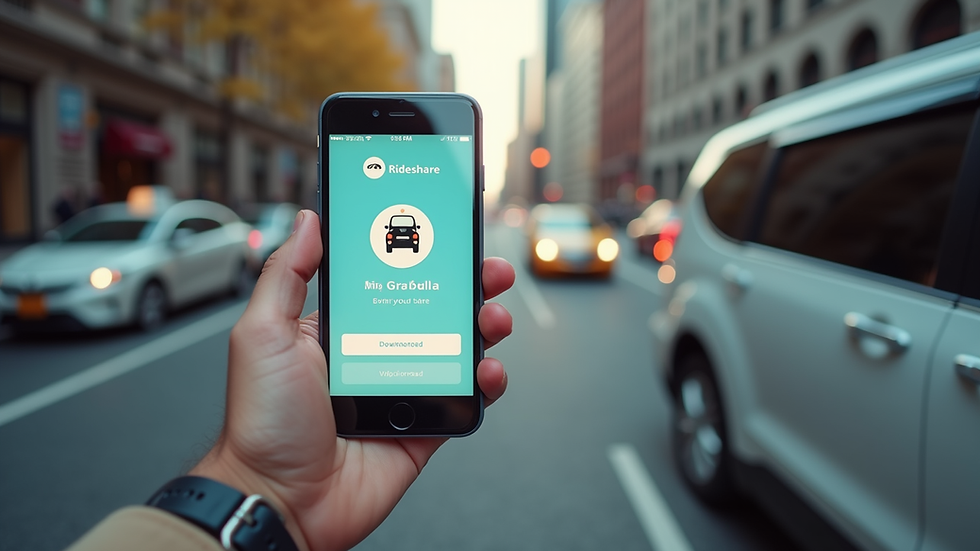
Step 2: Create Your Account
This is where you become a registered rider. The app will ask for some basic info:
Your full name
Email address
Phone number
Payment method (credit card, debit card, or digital wallet)
Be accurate. This info keeps your account secure and helps drivers find you easily. You’ll also set up a password. Make it strong. Use a mix of letters, numbers, and symbols.
Some apps might ask for additional verification like a selfie or ID scan. This step boosts safety for everyone.
Step 3: Understand the Terms and Privacy Policies
Before you hit “Sign Up,” take a moment to read the terms and privacy policies. Yes, it’s tempting to skip, but this is crucial.
Know how your data will be used.
Understand cancellation policies.
Learn about fare calculations and surge pricing.
This knowledge protects you from surprises later. Transparency is key. And remember, platforms that prioritize rider rights and fair pricing are the ones to trust.
Step 4: Set Up Your Payment Method
You can’t ride without paying. Setting up your payment method is simple but essential.
Add your credit or debit card details.
Link a digital wallet if you prefer.
Some apps allow PayPal or other payment options.
Double-check your info to avoid payment errors. You can also add promo codes or credits if you have them. This step ensures your rides go smoothly from start to finish.
Step 5: Customize Your Profile and Preferences
Make your rider profile work for you. Add a profile picture if the app allows it. This helps drivers recognize you quickly.
Set your ride preferences:
Choose your preferred vehicle type (economy, premium, carpool).
Indicate if you need accessibility options.
Set your default pickup location.
These tweaks make your rides more comfortable and tailored to your needs.
Step 6: Book Your First Ride
Now you’re ready to roll. Open the app, enter your destination, and request a ride. You’ll see:
Estimated fare
Driver details
Estimated arrival time
Confirm your pickup spot and wait for your driver. You can track their arrival in real-time. This transparency builds trust and keeps you informed.

Tips for a Smooth Rideshare Experience
Always check the driver’s name and car before getting in.
Rate your driver after the ride to help maintain quality.
Use the in-app chat or call feature for communication.
Keep your phone charged and notifications on.
Share your trip details with a trusted contact for safety.
Why Transparency Matters in Ridesharing
Transparency is the backbone of fair ridesharing. Platforms that expose fare discrepancies and advocate for fair wages empower both drivers and riders. This balance shifts power back to the workforce and ensures you get fair pricing.
When you sign up, you join a community that values honesty and fairness. This is more than just a ride. It’s a movement toward better, more ethical transportation.
How to Complete Your Rider Signup Online
Ready to take the plunge? You can complete your rider signup online in minutes. The process is straightforward, secure, and designed with you in mind. Don’t wait. Get started now and experience the freedom of ridesharing.
Keep Your Account Secure and Updated
Once you’re signed up, keep your account info current. Update your payment methods, contact info, and preferences as needed. Use strong passwords and enable two-factor authentication if available.
Security keeps your rides safe and your data protected. It also helps maintain trust between you and your drivers.
Your Next Ride Awaits
Signing up as a rideshare rider opens doors to convenience, safety, and fairness. Follow these steps, stay informed, and enjoy the ride. The future of transportation is here, and you’re part of it.
Get ready to move smarter, faster, and fairer. Your rideshare journey starts now.



Comments